
Implement Personalization using ContextHub in AEM
Personalization in aem is indeed one of the most hot feature that is being used now a days, as every client wants to target right audience, with right content at right time. Personalization using aem can be achieved by three ways ContextHub, Adobe Target and Adobe Campaign. In this tutorial we will learn how to implement personalization using ContextHub in AEM. I will try to cover personalization using adobe target and campaign in follow up tutorials.
ContextHub is basically a framework for storing, manipulating, and presenting context data (data in which audience/end user is interested). With the help of client-side JavaScript API you can access data for personalizing content.
After completing this tutorial you will have clear understanding about:-
- What is Personalization in aem.
- What are segments and how to create segments.
- How to create activity and add different experiences to a page
- Test Personalization.
Personalization in AEM:-
Personalization means presenting personalized experiences ( based on shopping summary, age, gender , geography etc..) to end customers. Targeting engine decides which personalized experienced(also known as Experiences) should be displayed based on which segment(Rule) is resolved. This definition also clears that we need personalization.
Experiences:- These are personalized experiences that are displayed to end customer, based on which segment it resolved. On each page/activity we define multiple experiences, each experience resolve to one or more segment/rule. If no segment is resolved then default experience is displayed.
Segment:- It is basically a rule/condition which we define, that tells/decide which segment or audience we want to target. In simple words, The final experience that end user should get is decided by which segment/audience is resolved. It will be more clearer when we create a segment in aem.
Activity:- Activities consist of audiences that you are targeting, and the period of time when the targeting is applied.
ContextHub:- As I have stated earlier ContextHub is basically a framework for storing, manipulating, and presenting context data, before AEM 6.2 it is known as Client Context.
Note:- All our segments and experiences are loaded at client side and then using javascript, contexthub segment engine decides which segment is resolved based on that respective experience is displayed. Segment resolution follows below approach.
- At page load first Default segment is loaded, as no segments are resolved till now.
- Segments engine checks all the segments and resolve to one particular segment.
- Segment engine request for personalized experience for resolved segment using ajax call.
- Personalized segment replace default segment and personalized content is shown to end user. (Usually this process is very fast so end user might not see default segment loaded at all)
Create Segments in AEM:-
Follow below steps to create your own segment:-
- Navigate to Audience Page Dashboard –> Personalization -> Audience .
- You will see list of out of the box segments. Now lets see how to create our own segment.
- From top right click on Create –> Create ContextHub Segment, and enter below values.
- Title – Female Test (Title you want to keep for your segment)
- Boost – 0 (Provide higher boost value, if you want to increase priority of this segment over other segments, when multiple segments gets resolved)

- Click OK
- Select your newly created segment and click Edit.
- Click on parsys (Drag Component here) and insert new component using the + sign.
- You will a list of out of the box context hub components, Each component has its own use and provide comparison based on different parameters.
- Select Comparison: Property- Value

- Double click on component and enter values.
- Property name – profile/gender (Select the value from drop down Store/Parameter)
- Operator – equal (Select the value from drop down)
- Data Type – String (Select the value from drop down)
- Value – female
Note:- There are different out of the box stores are provided by aem like profile store, geography store. As i am interested in profile information i will use profile store. In our follow up tutorial we will see how to create custom contextHub Store in aem. You can view list of available store at tools–> sites –> contextHub –> default –> contextHub Configuration .

- Click tick mark on top left of pop up to save the changes.
- Your custom segment is created, to test your segment simple select different persona from contextHub Store Toolbar. Select a female profile and check as shown below.

Learn more about contextHub Toolbar.


Lets go ahead and repeat the above to create one more custom segment for Male and name it as Test Male as show below.

Repeat similar step to test this segment by changing persona. Now we have created two custom segments Test Female and Test Male. Basically these two segments are rules as i stated earlier which decide whether ed use is a female or a male, based on which we are planning to display personalized experience.
Note:- As you have seen that there is no option to delete a segment from touch ui console. create segments carefully. All segments created are stored under /etc/segmentation/contexthub in crxde. You have to go and manually delete the segment from there.
Hope now you are clear about what is segment in aem and how to create segment in aem. Now lets create a page and add different experiences to it.
Create activity and add different experiences to a page:-
Follow below steps to create experiences on a page:-
- Navigate to Tools –> Sites.(For this tutorial i am using we retail website) http://localhost:4502/sites.html/content/we-retail/us/en
- Create a new page under English.
- Select any template, i am using hero page template.
- Enter below values to create a page.
- Title – Target Page (You can enter any title)
- Click on create to create the page.

Now lets create a page and add activity to it
- Click open to open the page.
- Click on parsys and insert an image component.

- Click on image component and configure it. Lets add a default image.

- Switch to targeting mode by changing Edit from top right corner to Targeting.
- Click on + icon near activity to create a new activity.
- Name – My Custom Activity (You can provide any name for your activity)
- Targeting Engine- Context Hub(AEM) {Select adobe target if you wish to implement personalization using adobe target and has a valid license}

- Click on Start Targeting and enable target on component as shown below.


Create different Experience for a page and add targeting:-
Now lets add two more experience that we want to display for male user and female user:-
- Click on Add experience Targeting from right side panel.
- Search for our custom segments Female Test.

Note:- These segments are also called as audience. - Click OK.
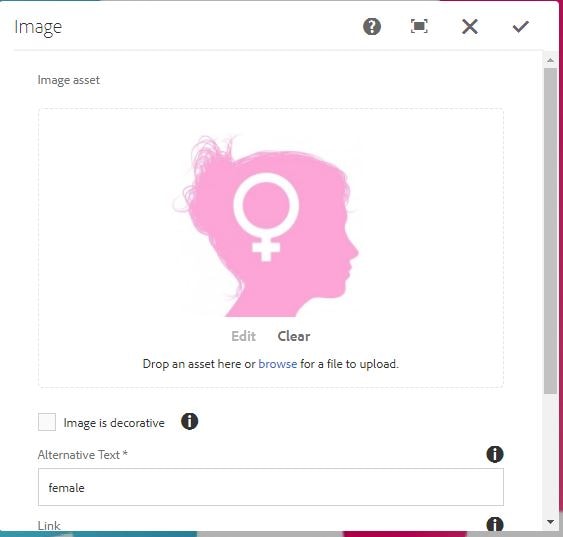
- Click on image component and configure it, lets add a female image to it.

- Save it.
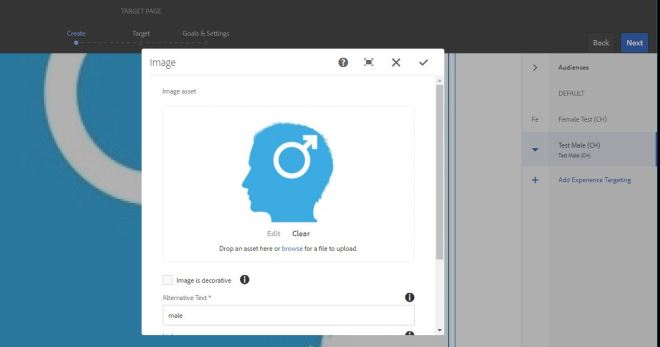
- Repeat the above process and create one more experience for Test Male Audience.

- Save the changes.
- Click Next from Top right corner, and verify your mapping between different experiences and audiences and click Next.

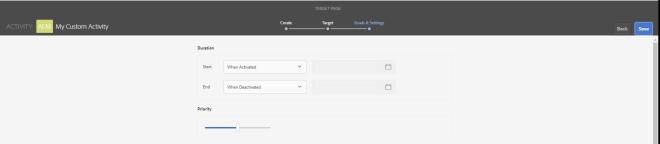
- Specify the duration, i am keeping it on activate and deactivate. If you want you can specify date and time range also.

- Specify the priority. By default it is normal and click on save.


That’s it you are done. You have successful create difference experiences for a page based on different audiences/segments.
Now It’s time to test personalization.
Test Personalization:-
To test personalization , simply switch to preview mode and change persona. This allows content authors to test their app on the fly.
- Switch to preview mode.
- Select Persona View.
- Select anonymous user from persona drop down.
- As anonymous user is neither male nor female, so default segment will be resolved and all anonymous users will see default image.

- Select Carlene(female profile) from persona drop down.
- As female segment is resolved, we will see personalized content for female users.

- Select Willie (male profile) from persona drop down.
- As male segment is resolved, we will see personalized content for male users.

That’s it, you have successfully tested presonalization in aem. We will see personalization in more depth in coming tutorials.
Leave a Reply